
Color Splash - Image Editor
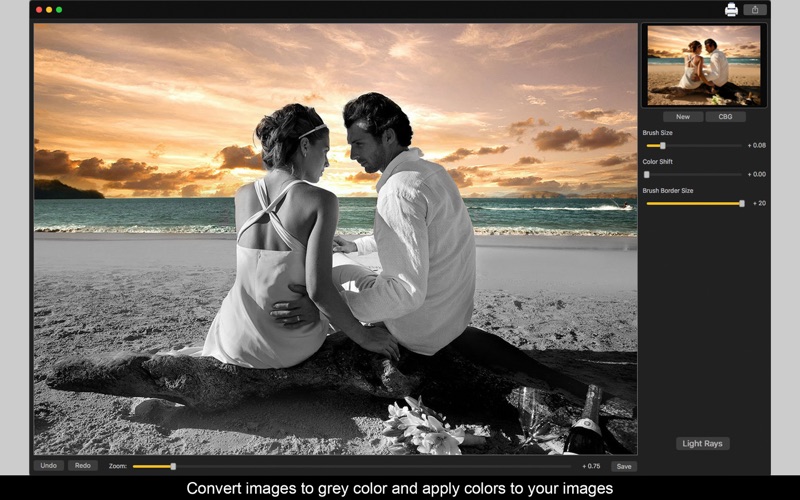
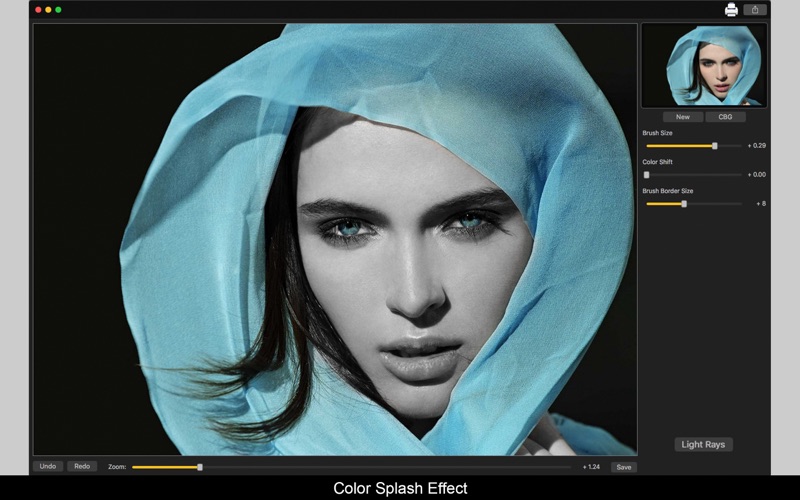
Are you trying to give your image a splash effect but find its very difficult to hit the edges applying the colors on black and white? With Color Splash - Image Editor you can use two types of brush to help you get the exact edges to be colored.
With our Brush Border, the white border on the circle wont be colored, just the area inside of it, helping you not create distorted colored areas. You can also use the Color Shift option to color your image with different colors from the original image. If you dont want to use a black and white background, thats not a problem! You can use the original colors of your image.
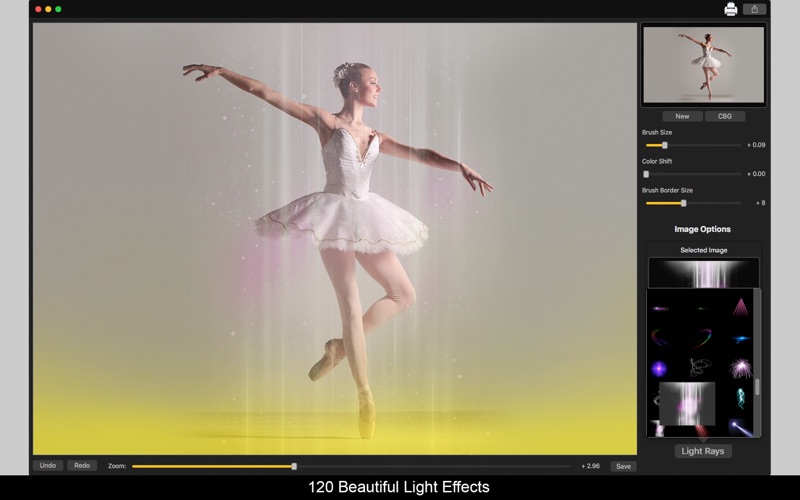
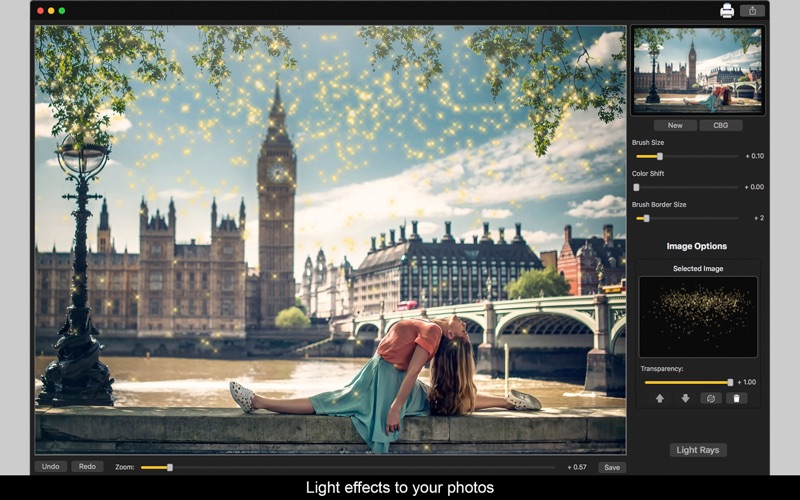
And not just that! We bring you 120 amazing transparent Light Rays to use on your photo with the size and position you want! The Light Rays will have the transparency level you like, its just change on the slider! What are you waiting for? Download Color Splash - Image Editor and start designing!
••••••••••••••••••••••••••••••••••••••••••••••••••••••••••••
Enjoy our amazing features:
••••••••••••••••••••••••••••••••••••••••••••••••••••••••••••
• Splash Effect on your photos.
• Two types of Brush: Brush and Brush Border.
• Color Shift to use colored brushes.
• 120 Transparent Lightrays
• Use Black and White or Colored background.
• Zoom.
• Share on social media.
• Print images.
• Save Images with PNG, JPEG, JPEG2000, TIFF and BMP formats.
••••••••••••••••••••••••••••••••••••••••••••••••••••••••••••
How to use:
••••••••••••••••••••••••••••••••••••••••••••••••••••••••••••
1. Click [ New ] to add an image. It will appear in Black and White.
2. Click [ CBG ] if you want to change the color of your background image (Colored or Black and White).
3. If you want to color the image with other colors different from the original image, move the Color Shift slider until you find the color you like. The 0.00 value corresponds to the original image colors.
4. You can use the [ Undo ] and [ Redo ] buttons (or Command+Z and Command+Shift+Z alike) to undo and redo the changes you did with the brush.
5. Use the Zoom slider or your mouse scroll wheel to change the zoom of the image.
6. Click [ Light Ray ] to add one you like. You can set its transparency using the slider, use backward and forward buttons to change its position on image and use rotation and resize arrows on the lightray youve added to customize it.
7. To delete an Light Ray youve added, select it and click the Thrash button on Image Options.
8. Click [ Save ] button to save your image, choosing between PNG, JPEG, JPEG2000, TIFF and BMP formats.
9. To print your image, you can click on the Printer button.
10. To post your image on social media, you can click on the Share button and choose the social network you want to post.